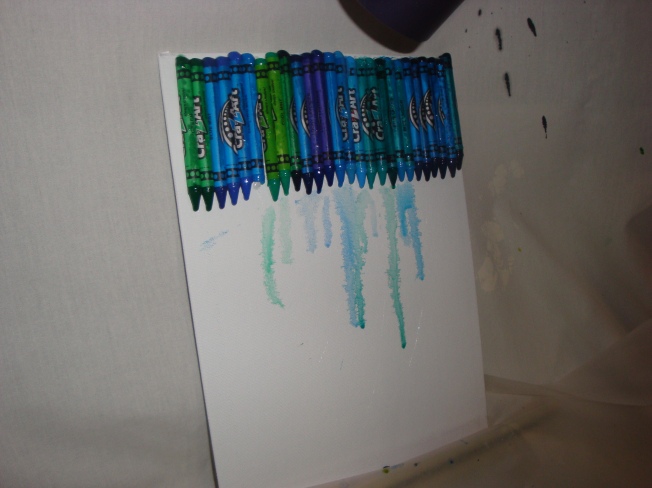
Step 1 - Sort the crayons- 2 64-count boxes of Cra-Z-Art crayons and 4 24-count boxes of Crayola crayons.

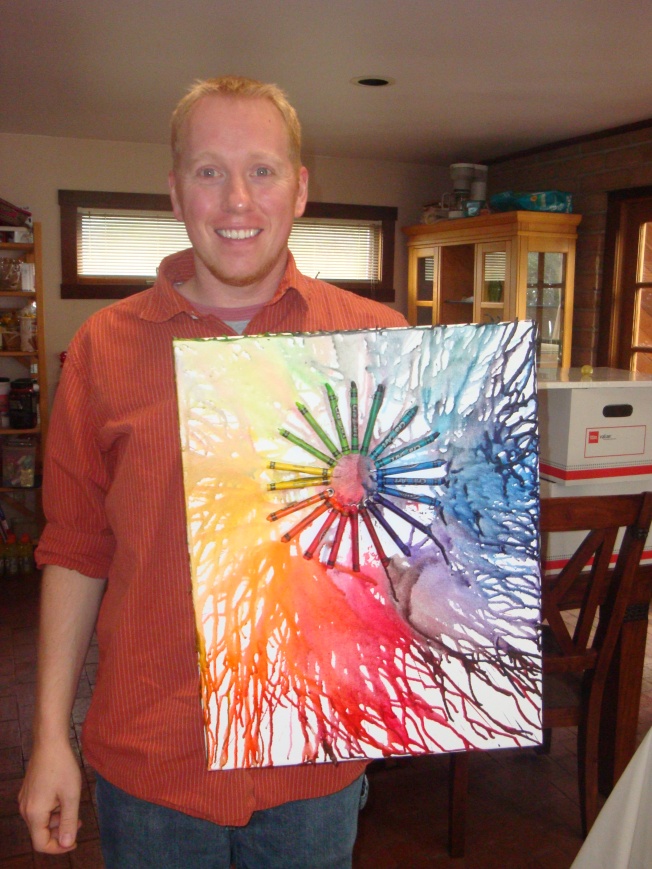
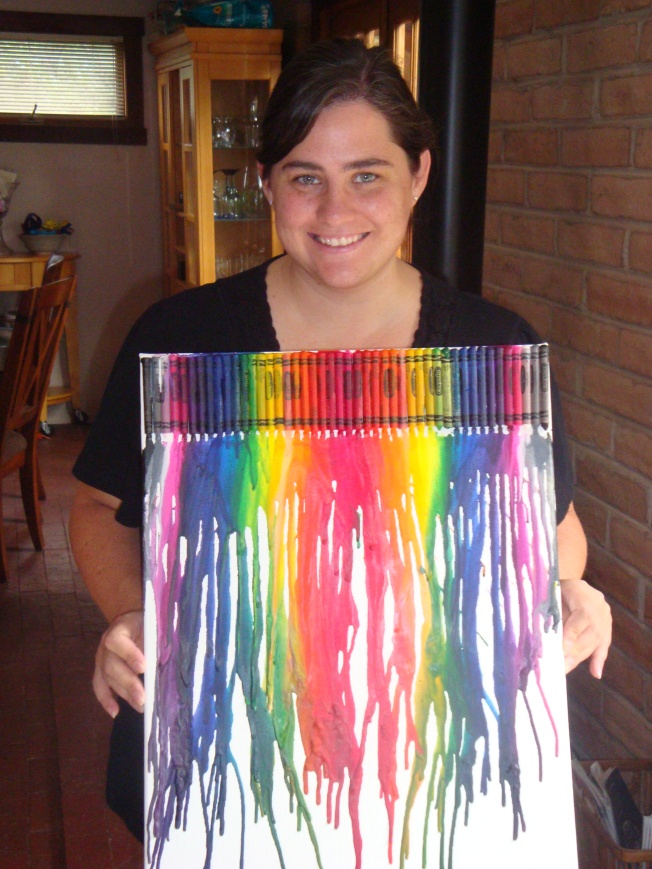
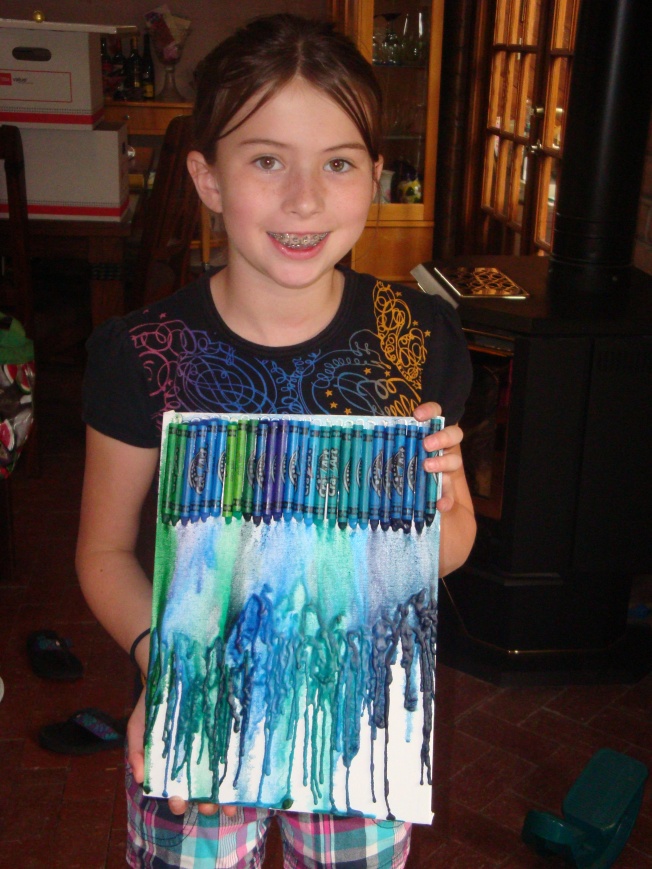
Step 2 - Create patterns- It was exciting that we each ended up with such different patterns and concepts!

It took maybe a minute or two for the crayons to start melting and between 15 and 30 minutes to complete depending on size and design.
David and Leah both used the Cra-Z-Art crayons and I used the Crayola crayons. During the process we could definitely tell the difference between the two in how they melted and streamed down the canvas. I think you can tell from the finished products also, but just barely. I love each of these canvas’ so much! It was tons of fun and I highly recommend you give it a try! I can’t wait to do it again.
Directions Review:
- Materials: Canvas, crayons, hot glue gun, craft sheet or something to catch the splatters, hair dryers, extension cord (maybe) We purchased the canvas’ and crayons. The total cost of just under $10.00! We found 2 packs of canvas’ for 40% off at Hobby Lobby and back to school left over crayons on clearance!
- Sort crayons and create design/pattern
- Hot glue crayons to canvas
- Prop up the canvas using craft sheet (or whatever you have). We also used wax paper underneath our canvas’.
- Use a hair dryer to heat the crayons and watch them get shiny and then start to melt and drip down the canvas!
- The wax sets up pretty quickly so you can handle it nearly right away.
- None of us got messy at all- the crayons melting only splattered in the direction the hair dryer was blowing.
Enjoy! And as always, PLEASE share if you give it a try!!!


That is just about the coolest thing ever… I am going to have to try that! Thanks for posting!
I just heard about this today and then I saw your post! Coincedence? I think not! I have to try it!